Showing posts with label Christmas Crafts. Show all posts

Thursday, 17 December 2015

Creating Christmas at Grandpa House


Paint, dollar store craft items and pine cones picked up while on vacation come in handy when grandchildren start saying 

"I'm bored!"

Yep Grandpa and Grandma can be boring and this usually happens we are tired and and not emotionally up to active children.

Thus the craft box in Grandma's sewing room was opened up and within minutes they were creating  Christmas at Grandpa's house.  

Christmas Tree Pine Cones


And while Emily and Ruth painted and glued we enjoyed a wonderful cup of tea and the creative process of children.

Do you have an emergency craft box in your home?

What are some of the crafts your (grand)children have made using these tools?

Grandma Snyder
©2013-2015 twosnydergirls

Saturday, 12 December 2015

In Memory of Aunt Elaine

The 2015 Christmas Centre Pieces


It was been a full year since a wonderful lady went to be with her Lord.  Aunt Elaine became a very special Aunt when every year she would ask her great great nieces to help set up the Family Christmas tables.

Emily and Ruth upon hearing of her death wanted to know who would to do the tables at the Christmas dinner and with the approval of Aunt Elaine's family they were chosen to keep up this tradition.

This evening we complete the 2015 table centre pieces and tomorrow we will set the tables in think of Great Great Aunt Elaine.


Grandma Snyder

©2013-2015 twosnydergirls


Saturday, 28 November 2015

Wooden Snowmen Christmas Craft


The idea for this activity with our grandchildren came about this summer when our son built a fence around their backyard.  We had gone over to help them pick up the wood left over from the project and here we found various lengths of wooden posts.  Rather than see them go to the dump we gathered them up and stacked them in the garage.
Once again we would love to credit the original creator of this idea however the net and Pinterest are full of version of this idea and so we add ours to the growing list.
Our snowmen cost exactly $2.00 each to create.  We purchase Christmas socks at the dollar store and one can of varnish.

What you will need:
  • White paint
  • Something orange for the noise we used scrap doweling that Grandpa
  • Dark or Black button of various sizes.  For this we went to Grandma’s button box.
  • Green and red scrape of fabric.  These came from Grandma’s fabric stash
  • 1 colourful scarf per snowperson
  • Hot glue
  • drilled and glued into the wood
  • Varnish

Directions:
  1. Paint the wood white
  2. Varnish
  3. Glue on the noise (orange), and the buttons for eyes, mouth and buttons
  4. Tie and glue on the scarf
  5. Place sock on the top and you are done


Ruth and Emily gave a set of snowmen to each of the Grandparent’s and Great Grandmother.

Grandma Snyder


©2013-2015 twosnydergirls


Monday, 15 December 2014

Children’s Christmas Craft

Felted Garland

Felted Wool Garland

The grandchildren went back to the kitchen sink to play in the warm water with soap and wool roving and this time they made a Christmas garland to adorn our family Christmas tree.


In this craft you take:
  •  a small piece of roving,
  • wet it in warm water, 
  • soap the roving and 
  • roll it around in your hand, until felted.  
  • Set your felted balls out to dry.  
  • Once dry using a large sharp darning needle thread the felted balls together to form the garland.

Grandma Snyder


©2013-2014 twosnydergirls

Saturday, 6 December 2014

Children's Crafts Felted Soap

A gift even small children can have fun making.
Felted Soap

Children of all ages love to play in soap bubbles and water.  As a parent and grandparent I have fond memories of my children standing on chairs at the kitchen sink washing the plastic dishes, OK really they were playing in the bubbles and water.  This children's craft builds on this fun activity with the added reward of a wonderful gift to give away or use themselves.

You will need:

  • a bar soap
  • the foot of a nylon
  • sink with warm water (Note: with older children use hot water and the felting will happen faster)
  • wool roving (we purchased ours at the local wool shop)

Directions:
  1. Let your child pick the colour of roving they want to wrap their bar of soap in.  Keep the layers thin it is OK if the soap shows through.
  2. Place the roving covered bar of soap carefully in the nylon stocking.
  3. Soak the stocking  in the water and then play.  Rub, pat,  squeeze your soap, be rough with it that is how the wool felts and this is when the  children get to have fun.
  4. If you would like to have multiple colours, carefully take the bar out of the stocking and wrap with second colour, rep steps 1 - 3 and add a third colour if desired.
  5. Once done set your bars of felted soap on a rack to dry.


Note: the third layer did not felt in before the children were tired of playing.  We did not worry because as the soap is being used by the recipient of the this gift it will continue to felt.

This is a wonderful craft and as I write this I can imagine an adult turning tub time with small children into craft time.  Bring all of the supplies into the bathroom and let the children play in the tub while at the same time making gifts for grandparents.

Grandma Snyder

©2013-2014 twosnydergirls

Monday, 24 November 2014

Christmas Craft for Children

Button Ball Christmas Ornaments 

Grandma! Grandma!
The Christmas decorations are out!
Now can we start making Christmas crafts for the blog!?
Please!

So off we went to Grandma’s Craft Room and set scattering magazines, newspaper clipping everywhere as we looked for a Christmas craft that the girls agreed upon and where do you think we found our first ornament for 2014?

Pinterest of course

 We followed the direction on The Navy Stripe blog


Lessons Learned

  1. Purchase your Styrofoam balls from the craft section of the dollar store not the Christmas section.  In the Christmas section the balls were 3 for $1.00 and the same balls were 6 for $1.00 in the craft section.  The Christmas balls did have ribbon already glued on and applying your own ribbon allows your child to match ribbon and buttons.
  2. Do not use the dollar store pins as the shafts are too fine and the length of the pin too short.  They work their way out of the ball too easily and become a hazard to stocking feet.  We purchased our pins at the local fabric shop with much better success.  Also if you are purchasing pins with a particular colour head get too boxes so that you do not run out.
  3. Check out your button jar to ensure you have bright coloured buttons and a lot of them.  I found in our local dollar store small packages of same coloured buttons and added these to the button jar.
  4. We dipped the end of each pin in white craft glue to help adhere the pin in the   styrofoam ball.

Ruth has always loved searching through the button jar for treasures so she decided to use mixed button for her balls which she named “Candy Passion”


Emily added her own touch and grabbed the box of craft beads and created “Snowflake Explosion”.  Here it is important to make sure the beads are shorter than your pins so that they stay stuck in the styrofoam ball.


I used pink buttons and created “Candyfloss Christmas"


You will need:
  • Styrofoam Balls you can decided on the size
  • Long straight pins with beaded heads
  • Buttons lots of button in any colour
  • White glue – a puddle on a plate for each child.
  • 1 hour
  • Snacks
  • A table
  • Good conversation

Have fun


CAUTION – like all Christmas decorations these are not toys and once completed they should be hung up to be admired from afar.
Grandma Snyder

©2013-2014 twosnydergirls


Saturday, 21 December 2013

Hand Crafted Christmas Gift Under $10.00


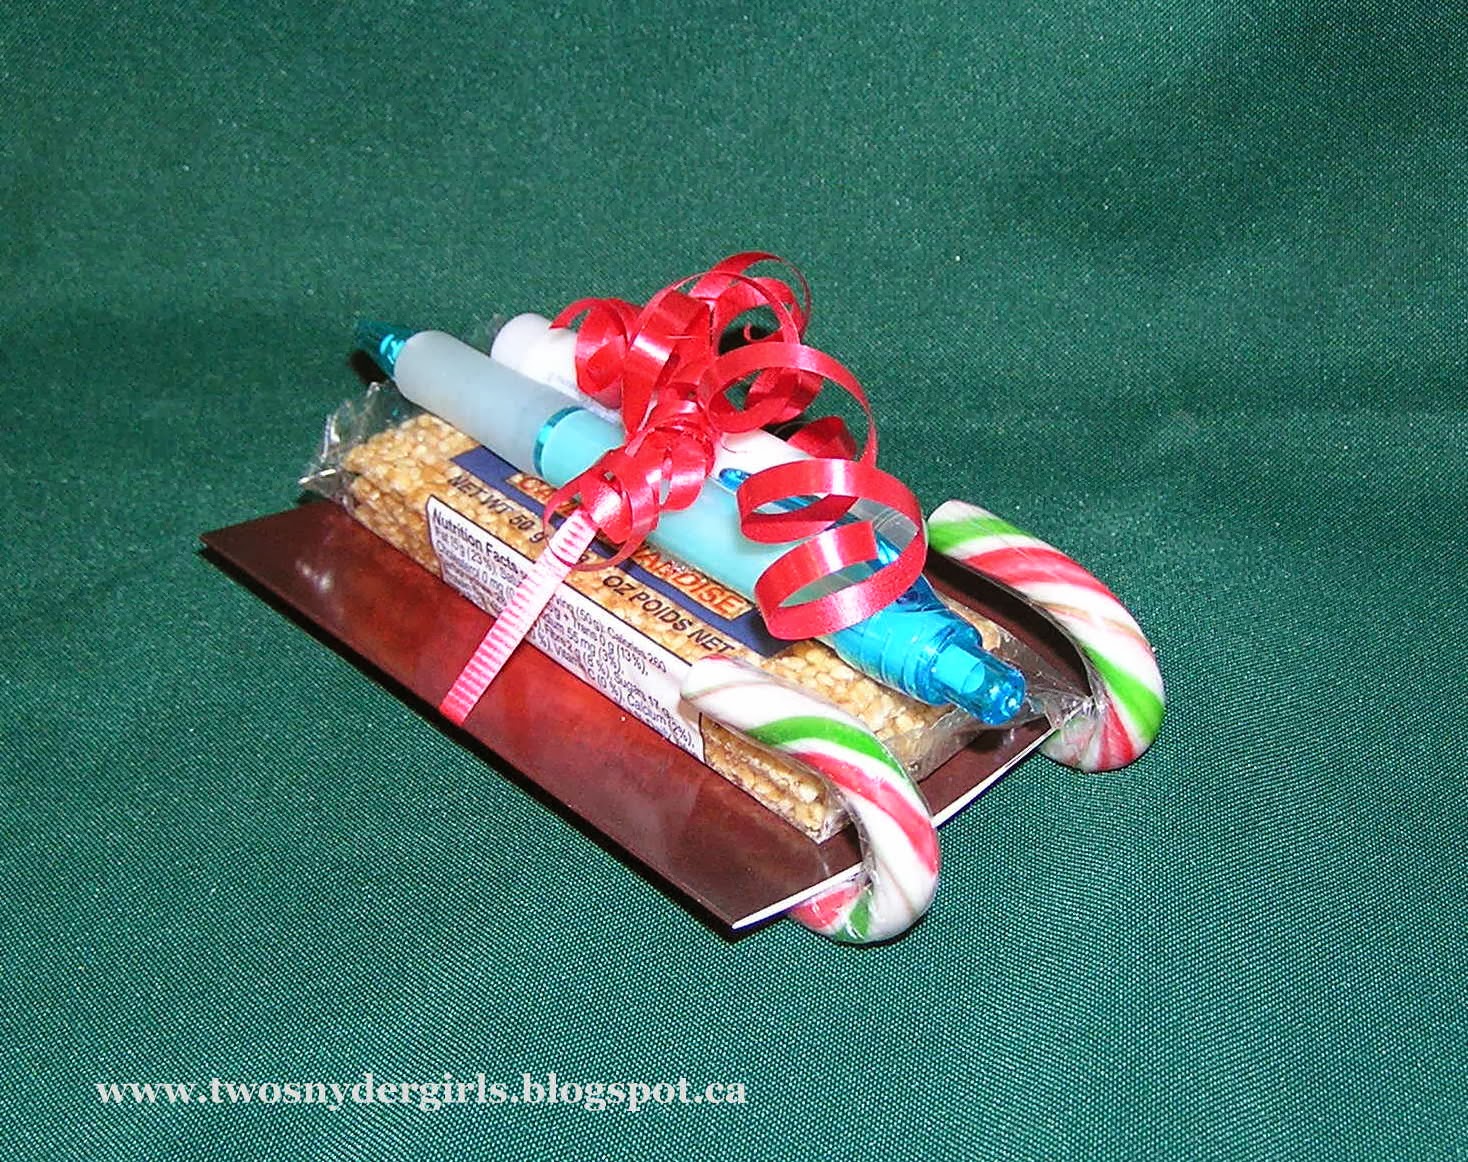
Gift Sleighs

 Under $10.00


For today’s Christmas craft I went to my Pinterest Board “Ideas to say thank you to staff” and ellyn’s place December 8, 2011 blog post candy sleighs.


Ellyn made her sleighs out of candy.  We wanted less sugar and a more adult gift.  So we went to our local dollar store and Tim Horton's.

Cost per sleigh
A box of 24 candy canes was $3.00
=
.25
Sesame snaps
=
.50
Lip Balm 2 @ 1.25
=
.63
Pen a package of 5 was 1.00
=
.20
Tim Horton gift card
=
5.00
Total cost
=
6.58


It took us 40 minutes to make 9 sleighs.  

Step #1
Decide how you will assemble your sleigh.  We originally thought we would include an individual package of tissue on each sleigh and we soon realized this item did not work.


Step #2
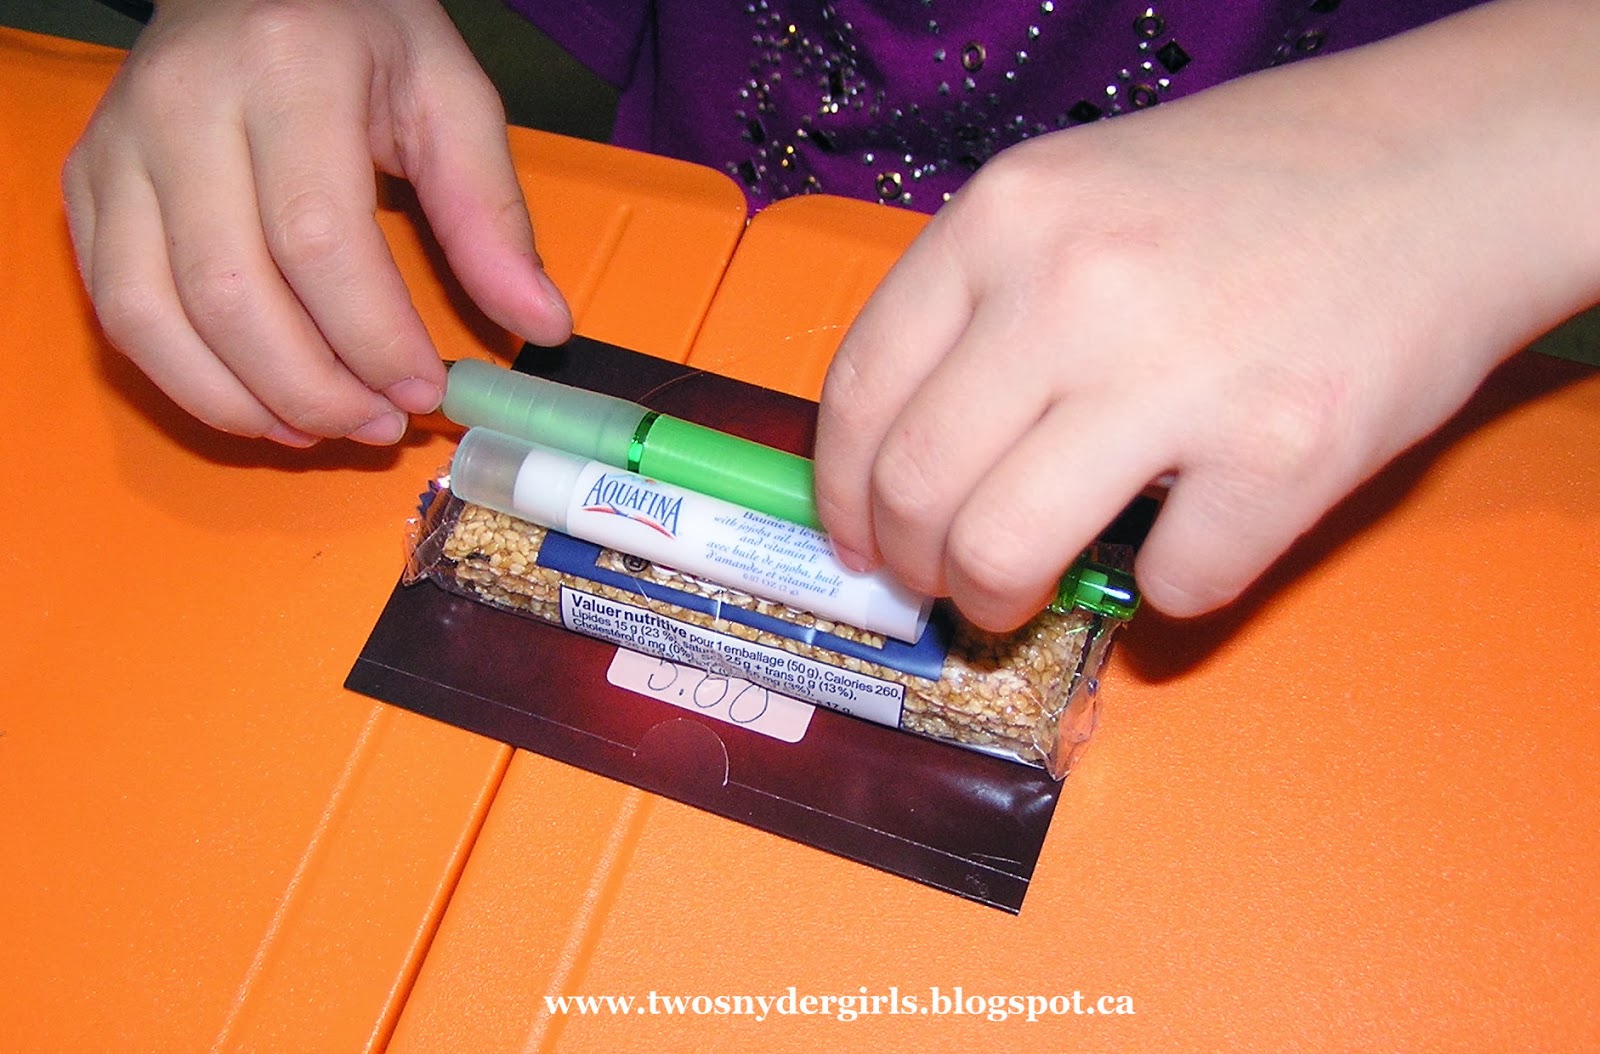
The flattest item to go on our sleigh was the Tim Horton Gift Card and so it became the base.  

Step#3
Using just a small dot of hot glue Emily glued the Sesame snap to the gift card


Step #4
Again using just a small dot of glue she glued on the pen and lip balm

Step #5
Using three dots along each candy cane we glued the gift card to the candy cane runners.  You need to hold the candy cane runners in place until the glue is set

Step #6
Decorate your sleigh with ribbon.


I will be giving these sleighs to my staff as a Holiday Treat.


Note: When working with a hot glue gun I always place the hot gun in an oven proof container too prevent someone from accidentally touching the hot tip.


Grandma Snyder
©2013 Twosnydergirls